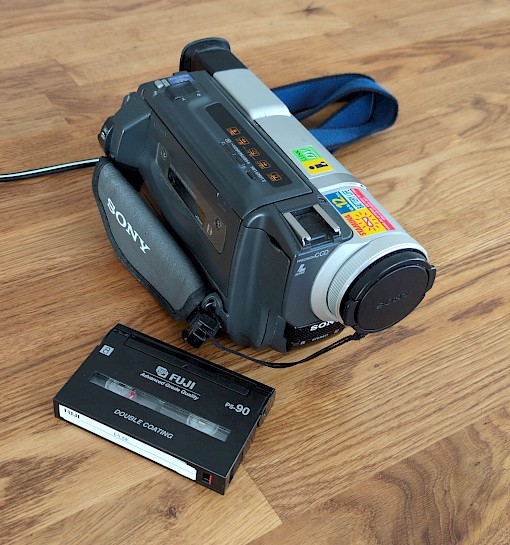
When we were kids, our parents had a camcorder that produced hours of family memories on 8mm video cassettes. Those things feel like ancient treasures at this point, and they are not going to last forever.
The camcorder is quite impressive for its time (it even has night vision!) and the video quality is pretty good. I have 25 of these cassettes in the closet behind me and already did plenty of work to digitize what we have. With about two cassettes, there was no audio (anymore?), and it would be a shame to have more of the material succumb to the elements.
Even though I will be focusing on 8mm Video Cassettes (Video8, Hi8, Digital8), the process should be nearly identical for other, comparable types of media. Essentially, you need to plug your camcorder into your computer and record the input with software. There are appearently modern, one-device options for digitizing a cassette, though they seem more expensive. This guide shows a process that does not rely on any such devices.
The Equipment
Firstly, you need a computer and a device that is capable of playing your old, analog media. I am assuming you have a computer, and you likely have access to a playback device. If not, you can look for used camcorder or cassette player on the internet. I will be using our old camcorder, which still works well enough for the job.
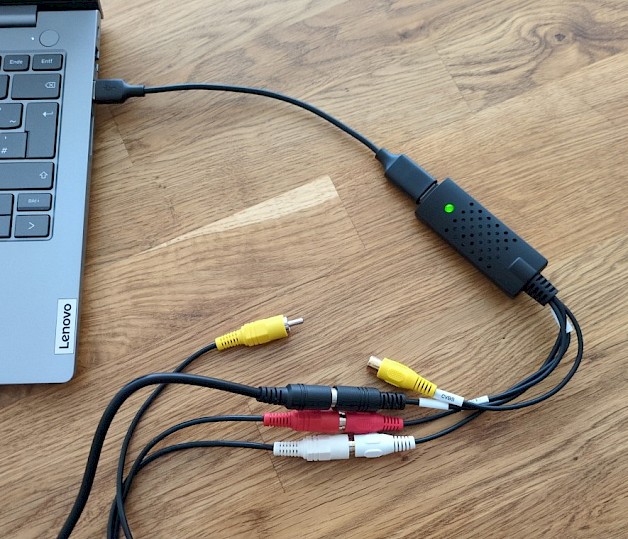
The next thing you'll need is a way to plug your camcorder or player into your computer. Congratulations if this somehow works without the need for additional hardware! In my case, I bought something called a "video grabber" from amazon, which allows me to convert the signal from my camcorder's RCA and S-Video output to USB input. You can get one of these for about 10€ (about 12 USD) on Amazon. Here is what is looks like:
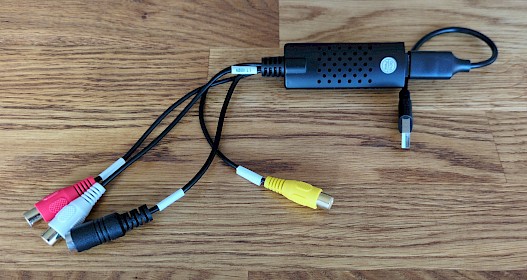
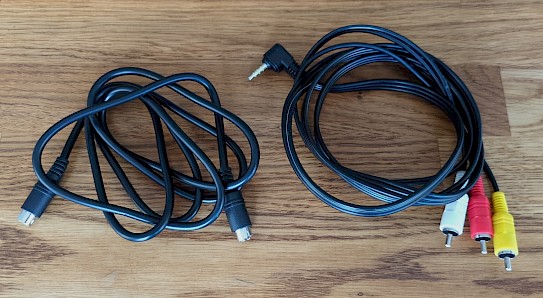
If your camcorder or cassette player has a different set of connectors, you will have to get a matching video grabber. Also, make sure you have the proper cables. I had to order the S-Video cable (the one without colored connectors in the picture blow), because I want to use it instead of RCA-Yellow. Though, I still use red and white RCA for the audio channels.
And that's about it. The only other thing we need is a recording software. I think my Video Grabber came with some sort of proprietary recording tool, but I prefer to use OBS, since that is linux compatible, free and less sketchy.
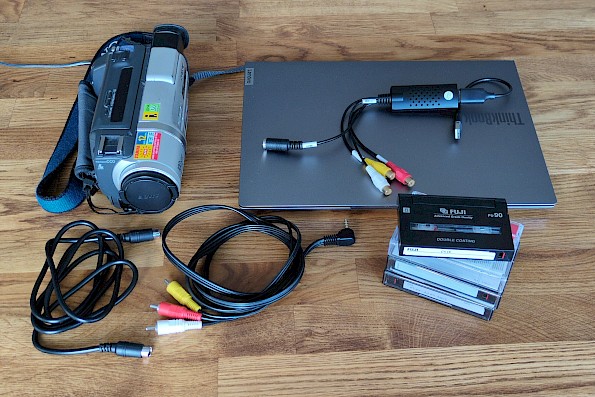
So in total, you may be spending something like 10 to 150 USD on everything you need, depending on what you already have and what kind of deal you strike for a camcorder or video player. Here's all of the hardware in one picture:
Getting Ready to Record
Now that we have all of our equipment, we can start with the actual "work". The first things you'll have to do are plugging your pieces of equipment into eachother and figuring out the proper recording settings. Since I use OBS for this, I will show you my setup and comment on it.
Put your cassette into your camcorder and use your cables to connect the player to your video grabber. Then, plug the video grabber into your computer. Note that I replaced RCA-Yellow with the black S-Video connector in the picture below. Your setup might look different, depending on the connectors of your hardware.
Open OBS to set it up for recording. Add a video source and an audio source. Configure both to receive input from your video grabber.
Get into your OBS video settings and set the proper Resolution and FPS. Here you might need to do some research. 640x480p at 50 FPS looks good for my use case. This may vary for you depending on the kind of media you'll be recording. There even seem to be regional differences for the same type of casette, so you will probably need to do research. Also, you can right-click your video source and click the option "Resize output (source size)" if you can't quite fit your canvas to your video source.
Customize the rest of the settings to your liking. For example, I want my recording to be saved as an MKV video file. Remember that you can always come back later and review your settings if you are not fully satisfied with them. Here's what my OBS looks like, for comparison.
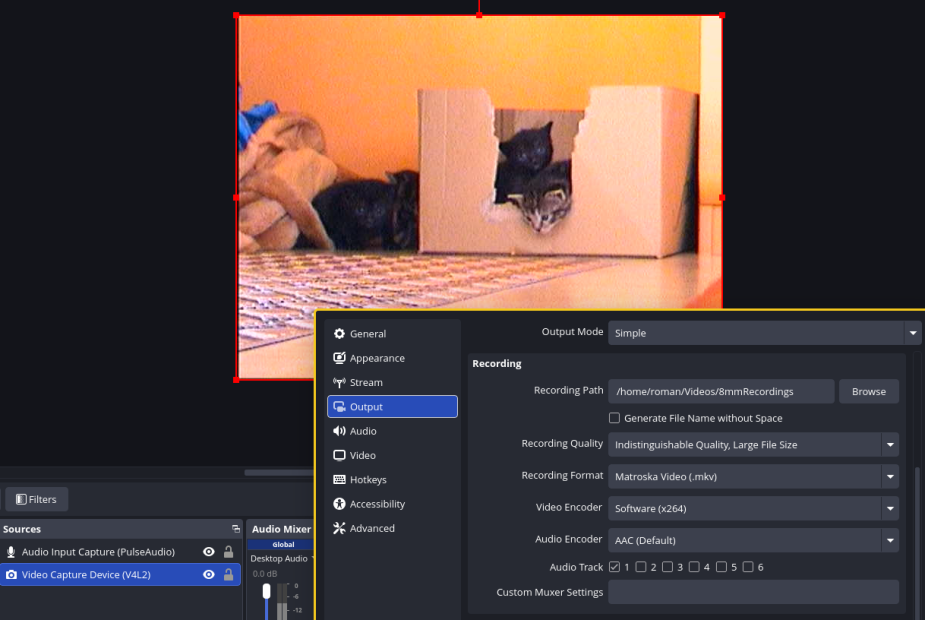
You'll probably want to set your recording quality at least to "Indistinguishable Quality" (like I did). This should offer you a good base for any sort of editing.
The actual recording process
Rewind your cassette to the very beginning, hit the play button on your camcorder and start your OBS recording. Make sure you remove or mute any unneeded audio sources. Else, you might accidentally record background noise!
This is the perfect moment to check if your settings are producing the proper result. Stop after a short while and see if the quality of your recording is looking good. If anything is wrong, try adjusting your settings or pop in another tape to see if the problem disappears.
If everything is looking good, proceed to do a full recording. You can just let your recording setup do its thing and come back to check the result later. It can happen that you come back to your desk long after the tape finished playing. In this case, OBS will have picked up plenty of black screen (or blue screen), since it does not know when to stop recording. In this case, you can just trim off anything unwanted from your output in a video editor. My choice for doing that is Kdenlive, which is free and open source.
Enjoy!
This is it! Even though it may take some time to figure everything out, the process is simple and straightforward once you get your recording settings down. Now, you can go on and archive your family memories for generations to come.